In this post, I will describe how to run Vivado on FreeBSD using the chroot mechanism.
I assume you already know how to install FreeBSD and your favourite desktop environment (or window manager). I also assume you know how to download a proper Vivado installer from the AMD website.
Some of the commands presented in the post require root privileges.
I intentionally avoid doas or sudo in some places for brevity.
I use doas on FreeBSD and sudo on Ubuntu.
This may give you extra hints on which commands are executed on which system.
linux_enable="YES" line to your /etc/rc.conf file.service linux start as root to start the Linux compatibility service.
You can also reboot the system so that the service is started during the boot process.
linux*.ko entries in kldstat output.
FreeBSD has a dedicated utility for bootstrapping Debian/Ubuntu systems.
The utility is called debootstrap.
However, it is not installed with the base system.
A user must explicitly install it with pkg.
pkg instsall debootstrap
Based on the downloaded Vivado version, you must determine what Ubuntu releases are supported. I have downloaded Vivado 2025.1. Vivado 2025.1 supports Ubuntu 22.04 and 24.04. These versions are named Jammy and Noble, respectively. You can check which suites (releases) are supported by your debootstrap by running:
ls /usr/local/share/debootstrap/scripts/
In my case, Ubuntu 24.04 (Noble) is not supported, but Ubuntu 22.04 (Jammy) is. Bootstrapping a usable Ubuntu requires four steps:
debootstrap jammy /compat/ubuntu-22.04How you name your directory is up to you. Just remember to avoid
/compat/linux to avoid a clash with CentOS-based ports and packages.
At this stage, you should already be able to chroot /compat/ubuntu-22.04/.
The uname command should simply return Linux.
However, hold your horses!
We need more.
Thedevfs /compat/ubuntu-22.04/dev devfs rw,late 0 0tmpfs /compat/ubuntu-22.04/dev/shm tmpfs rw,late,size=1g,mode=1777 0 0fdescfs /compat/ubuntu-22.04/dev/fd fdescfs rw,late,linrdlnk 0 0linprocfs /compat/ubuntu-22.04/proc linprocfs rw,late 0 0linsysfs /compat/ubuntu-22.04/sys linsysfs rw,late 0 0/tmp /compat/ubuntu-22.04/tmp nullfs rw,late 0 0/home /compat/ubuntu-22.04/home nullfs rw,late 0 0
/tmp and /home entries are required for sharing the home directory and being able to run X11 applications.
Run mount -al to apply the changes.
id command as a user on the FreeBSD host to get your UID and GID.
To add a user on Ubuntu, I simply chroot to it and execute the proper commands manually.
It is a one-time job.
When you add a user on Ubuntu, it is probably also a good idea to configure the shell to your favourite.
I prefer bash.
In my case, I use the following commands on chroot Ubuntu to add a user:
groupadd -g 1001 mkru
useradd -u 1001 -g 1001 -s /usr/bin/bash mkru
Rundeb http://archive.ubuntu.com/ubuntu jammy main universe restricted multiversedeb http://security.ubuntu.com/ubuntu/ jammy-security universe multiverse restricted maindeb http://archive.ubuntu.com/ubuntu jammy-backports universe multiverse restricted maindeb http://archive.ubuntu.com/ubuntu jammy-updates universe multiverse restricted main
sudo apt update on Ubuntu to apply changes.
By default, Java on Ubuntu chroot will crash because of missing libraries and packages. Run the following command on Ubuntu:
sudo apt install libxext6 libxrender1 libxtst6 libxi6 \
	fontconfig fonts-dejavu-core
Run the xsetup in the extracted Vivado installator directory.
The installer will complain about unsupported OS.
Even though we run in the Ubuntu 22.04 environment, and Vivado 2025.1 officially supports Ubuntu 22.04, the installer is able to detect that the OS is invalid.
I wish AMD tools were that clever when I actually need them to be clever.
Go through the Vivado installation process the same way you would normally do on a native Ubuntu host. At the end of the installation process, you will probably get a warning saying that the locate is not set. Run the following commands to update locale:
sudo locale-gen en_US.UTF-8
sudo update-locale
Try to run Vivado GUI by sourcing the settings64.sh script and executing the vivado command in the Ubuntu shell.
At this stage, you would probably get the following error:
application-specific initialization failed: couldn't load file "libxv_commontasks.so": libtinfo.so.5: cannot open shared object file: No such file or directory
Don't worry, we can easily fix this. We just need to install libtinfo5. Run:
sudo apt install libtinfo5
Run vivado.
If you use standard desktop environments like Xfce, Gnome, or KDE, you should now see the Vivado welcome screen.
However, if you use a bare window manager, for example, bspwm, you might see a white rectangle.
Don't worry, we just need the following export for Java on Ubuntu.
export _JAVA_AWT_WM_NONREPARENTING=1
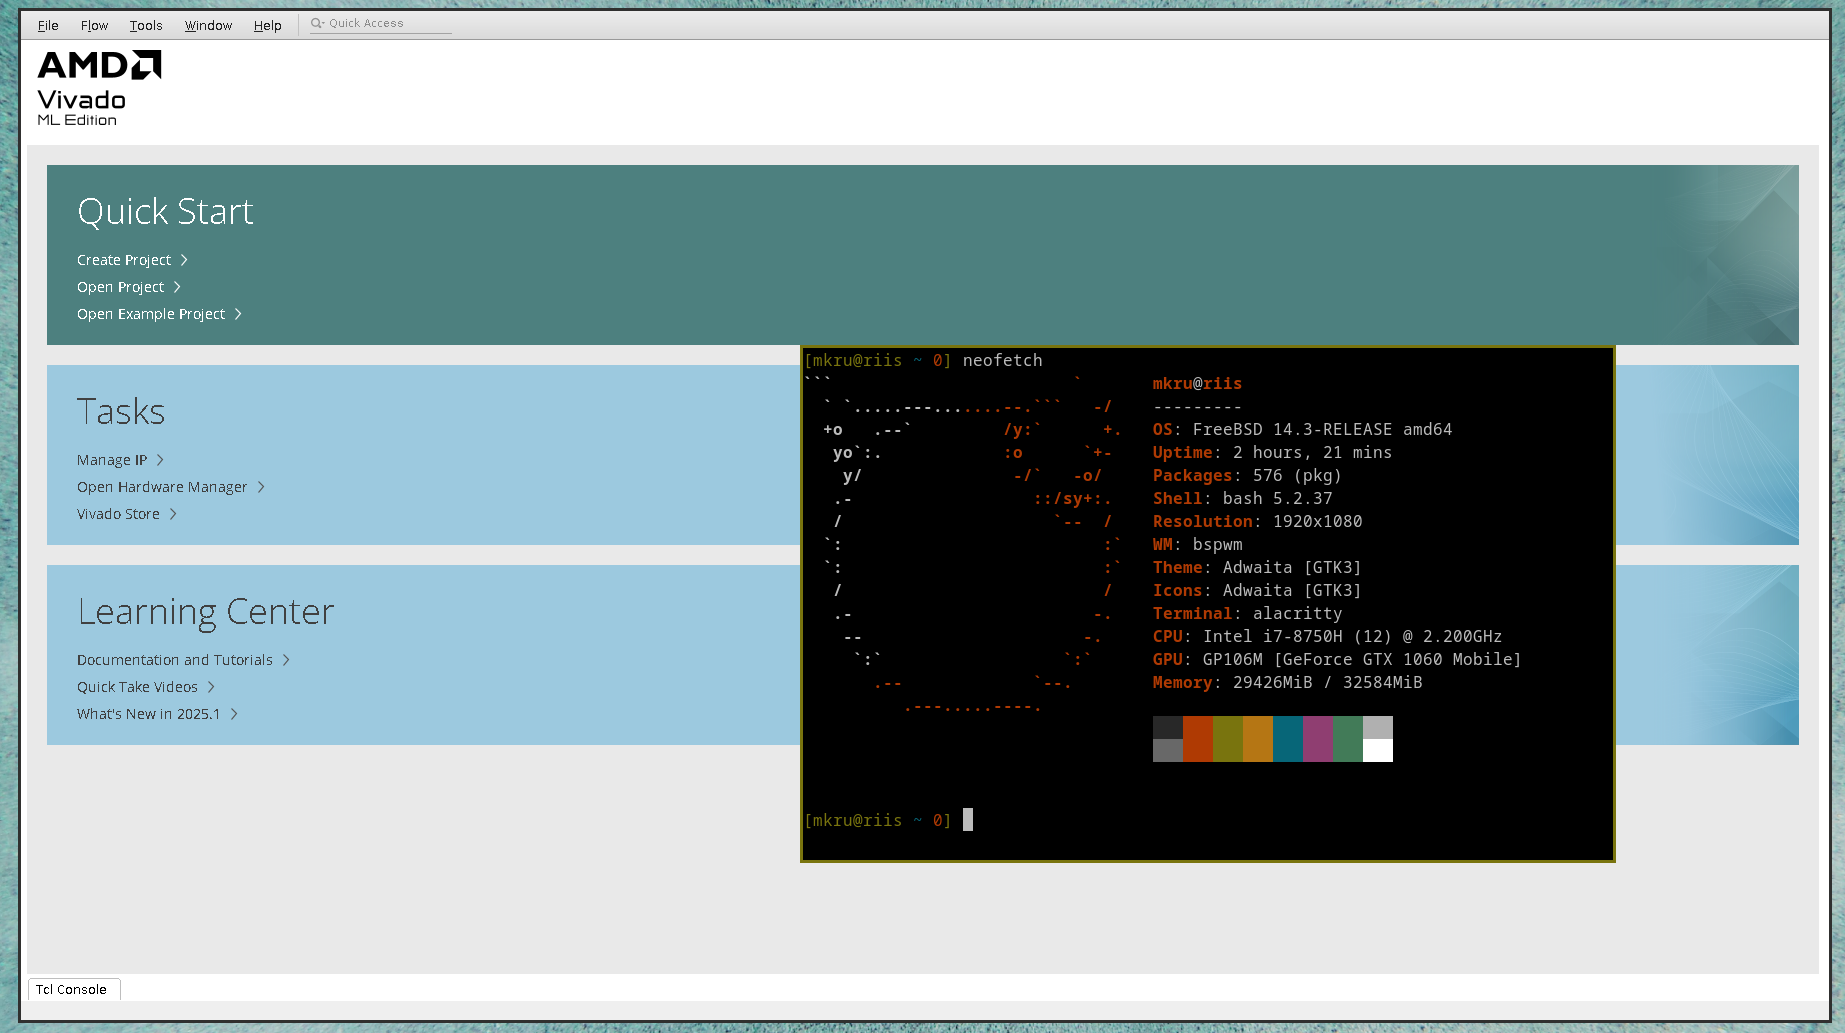
Run vivado and you should see a beautiful image similar to the following one:
At this point, to start Vivado GUI I have to:
chroot to Ubuntu,$USER in Ubuntu,vivado command.
My requirements are as follows:
Because we can. Because we f**cking can ... and if we can, we do.
Thomas "Tommy" Shelby
I will start with the bottom-up approach. This means the first thing we need is a shell script for starting an arbitrary AMD tool with an arbitrary version on Linux system. I keep my custom AMD-related scripts in ~/data/dotfiles/amd/ directory. The script for running AMD GUI tools on Linux is called run-gui-linux.sh, and looks as follows:
#!/usr/bin/env bash# Script for running AMD tools in GUI mode with working directory set to /tmp.## Parameters:# $1 - tool name (vivado, vitis_hls, vitis_analyzer),# $2 - tool version (for example, 2021.2).## In case of .desktop files add:# Exec=/path/to/script/run-gui.shset -etool=$1version=$2# Java does not play well with window managers (DWM, Awesome, bspwm).# https://wiki.archlinux.org/title/Xilinx_Vivadoexport _JAVA_AWT_WM_NONREPARENTING=1# License, adjust if required.export XILINXD_LICENSE_FILE=2100@192.168.95.253tool_dir=""case $tool in"vivado") tool_dir="Vivado" ;;"vitis_hls") tool_dir="Vitis" ;;"vitis_analyzer") tool_dir="Vitis" ;;*) echo "unkown tool '$tool'" && exit 1esacexport LC_ALL="C"tool_path=/tools/Xilinx/"$tool_dir"/"$version"# Starting from version 2025.1 AMD chagned the default installation path.if awk "BEGIN { exit !($version >= 2025.1) }"; thentool_path=/tools/Xilinx/"$version"/"$tool_dir"fi. "$tool_path"/settings64.shcd /tmp$tool
Decent! Now, we need a shell script for FreeBSD. I called this file run-gui-freebsd.sh, and it looks as follows:
#!/bin/shset -etool=$1version=$2cmd="su $DOAS_USER -c \\"/home/$DOAS_USER/data/dotfiles/amd/run-gui-linux.sh $tool $version\""doas chroot /compat/ubuntu-22.04/ /bin/bash -c "$cmd"
Nothing fancy. It simply changes root, switches user in Ubuntu and calls the run-gui-linux.sh script with proper arguments.
At this stage, we are able to open Vivado GUI by simply calling one script on the FreeBSD host:
doas ./run-gui-freebsd.sh vivado 2025.1
However, we still have to explicitly provide the password and miss the application launcher. Let's handle the password first.
I assume you use doas instead of sudo on FreeBSD.
If you use sudo, you have to figure out this step on your own.
We just need to add one line to the /usr/local/etc/doas.conf file to allow user to call run-gui-freebsd.sh script without providing password.
In my case, the line looks like this:
permit nopass mkru as root cmd /home/mkru/data/dotfiles/amd/run-gui-freebsd.sh
WARNING 1: The path to the script must be absolute! If you provide just the script name or a partial path, you will create a security hole. If someone, somehow, logs in to your account, he/she/it will be able to gain root privileges by simply creating and calling a script with the same name.
WARNING 2:
You must change the owner and group of your FreeBSD script.
In my case, this is run-gui-freebsd.sh file.
This script can be executed with root privileges without providing password.
If someone, somehow, logs in to your account, he/she/it will be able to gain root privileges by simply editting the script.
Change the owner to root and group to wheel.
doas chown root run-gui-freebsd.sh
doas chgrp wheel run-gui-freebsd.sh
At this stage, we can open Vivado GUI by just calling one script without providing any passwords. Just remember two things:
doas,In my case, I can open Vivado GUI without providing any password by executing the following command:
doas /home/mkru/data/dotfiles/amd/run-gui-freebsd.sh vivado 2025.1
The last thing we have to prepare is the application launcher.
This is easy.
The Vivado installer should already create applications .desktop files in the ~/.local/share/applications/ directory.
Open the file for Vivado (on my system it is named Vivado 2025.1_1756978682175.desktop) and adjust the value of the Exec attribute.
Optionally, you can fix the icon displaying by fixing the path in the Icon attribute.
My .desktop file for Vivado 2025.1 looks as follows:
[Desktop Entry]Encoding=UTF-8Type=ApplicationName=Vivado 2025.1Comment=Vivado 2025.1Icon=/compat/ubuntu-22.04/tools/Xilinx/2025.1/Vivado/doc/images/vivado_logo.pngExec=doas /home/mkru/data/dotfiles/amd/run-gui-freebsd.sh vivado 2025.1
At this stage, you should be able to launch Vivado GUI on FreeBSD like a regular GUI application.
I am able to run Vivado GUI easily.
However, I mainly open the GUI for reports viewing, programming, or debugging.
I handle most of the build or test work with scripts.
To be able to run my scripts, the FreeBSD shell environment has to see some vivado command.
Having vivado on the FreeBSD host as a regular command is a little bit harder because we can't simply source the proper Vivado settings script.
Vivado was installed in Ubuntu chroot environment, not on the FreeBSD host.
It won't fly.
Moreover, we have to preserve the working directory.
This is a new requirement compared to the Vivado GUI.
We have to emulate the behavior.
Instead of sourcing a proper Vivado settings script before starting work, I export the desired Vivado version. This is as simple as:
export VIVADO_VERSION=2025.1
This is, of course, a custom environment variable, so you can name it whatever you want.
I prefer full words.
If I used, for example, VIVVER, I would probably forget the meaning in a few months.
Now, we need two shell scripts.
One for the FreeBSD host and one for the Ubuntu chroot.
This is similar to the Vivado GUI scenario.
However, this time, the script for FreeBSD host must be available in your $PATH, and must be named vivado.
On my machines, I keep such scripts in ~/data/dotfiles/bin/ directory.
Then, I export this path to the $PATH variable in .bash_profile file.
You can do the same, or use .profile or .bashrc file.
Whatever approach you like.
My vivado script looks as follows:
#!/bin/shif [ -z "$VIVADO_VERSION" ]; thenecho "VIVADO_VERSION is unset or empty"exit 1fidoas "/home/$USER/data/dotfiles/amd/vivado.sh" "$VIVADO_VERSION" "$*"
It basically checks whether the $VIVADO_VERSION environment variable is set and redirects arguments to the vivado.sh script responsible for the actual logic.
Why is the vivado script even required in such a case?
Well, it is required because I want to call vivado in the shell without the doas prefix.
It makes my hbs build system portable between FreeBSD and Linux.
The second reason is avoiding root privilege escalation.
The vivado.sh script I keep in ~/data/dotfiles/amd/ directory. This is the same directory where I keep scripts for running Vivado GUI. The content of the vivado.sh file is as follows:
#!/bin/shset -eversion=$1shiftvivado_path=/tools/Xilinx/Vivado/"$version"# Starting from version 2025.1 AMD chagned the default installation path.if awk "BEGIN { exit !($version >= 2025.1) }"; thenvivado_path=/tools/Xilinx/"$version"/Vivadoficmd="su $DOAS_USER -c \\"export XILINXD_LICENSE_FILE=2100@192.168.95.253;cd $(pwd);export _JAVA_AWT_WM_NONREPARENTING=1;. $vivado_path/settings64.sh;vivado $*\""doas chroot /compat/ubuntu-22.04/ /bin/bash -c "$cmd"
This time, the FreeBSD host script doesn't start accompanying Linux script in the Ubuntu chroot. Why? Because in this particular case, this extra layer of indirection doesn't bring any value.
I export _JAVA_AWT_WM_NONREPARENTING to be able to start Vivado GUI from the command line whenever the proper $VIVADO_VERSION environment variable is exported.
I actually never do this, but I want the vivado command to behave exactly the same on FreeBSD and Linux.
Remember to adjust the port and IP address for the license to your needs.
To be able to run the vivado command from the shell without providing any password and without creating any security hole we must do what we already did for Vivado GUI.
However, this time, for the vivado.sh file.
Change the owner of the file to root and the group to wheel.
Finally, adjust and add the following line to the doas.conf file.
permit nopass mkru as root cmd /home/mkru/data/dotfiles/amd/vivado.sh
You won't be able to program or debug FPGAs by simply connecting USB programmers to your FreeBSD machine. This is because there are no drivers for FreeBSD. And there are no drivers, because the documentation is closed-source. However, there are workarounds, some of which I have mentioned in FreeBSD: Running Vivado on FreeBSD post.
You probably noticed that I am exporting my whole home directory to Ubuntu as I mount it there. It would be better only to mount the necessary part of your workspace, and the directory with the shell scripts required by Ubuntu. This way, Vivado, and other stuff you install on Ubuntu, would not be able to scan your private data. However, currently, I don't care about it. To apply the security improvement, you just need more specific mount entries in /etcfstab/ file. Instead of mounting the entire home, mount particular directories. If you work on a machine used by multiple users, then at least try to mount only /home/$USER if other users don't require the Ubuntu environment.
You probably also noticed that my shell scripts don't verify user arguments. This is because:
I have run Vivado 2025.1 and 2023.2 on FreeBSD using chroot. I haven't experienced any troubles so far. If you have, feel free to contact me. Maybe we can figure out what is going on together.